Engrosser’s Script
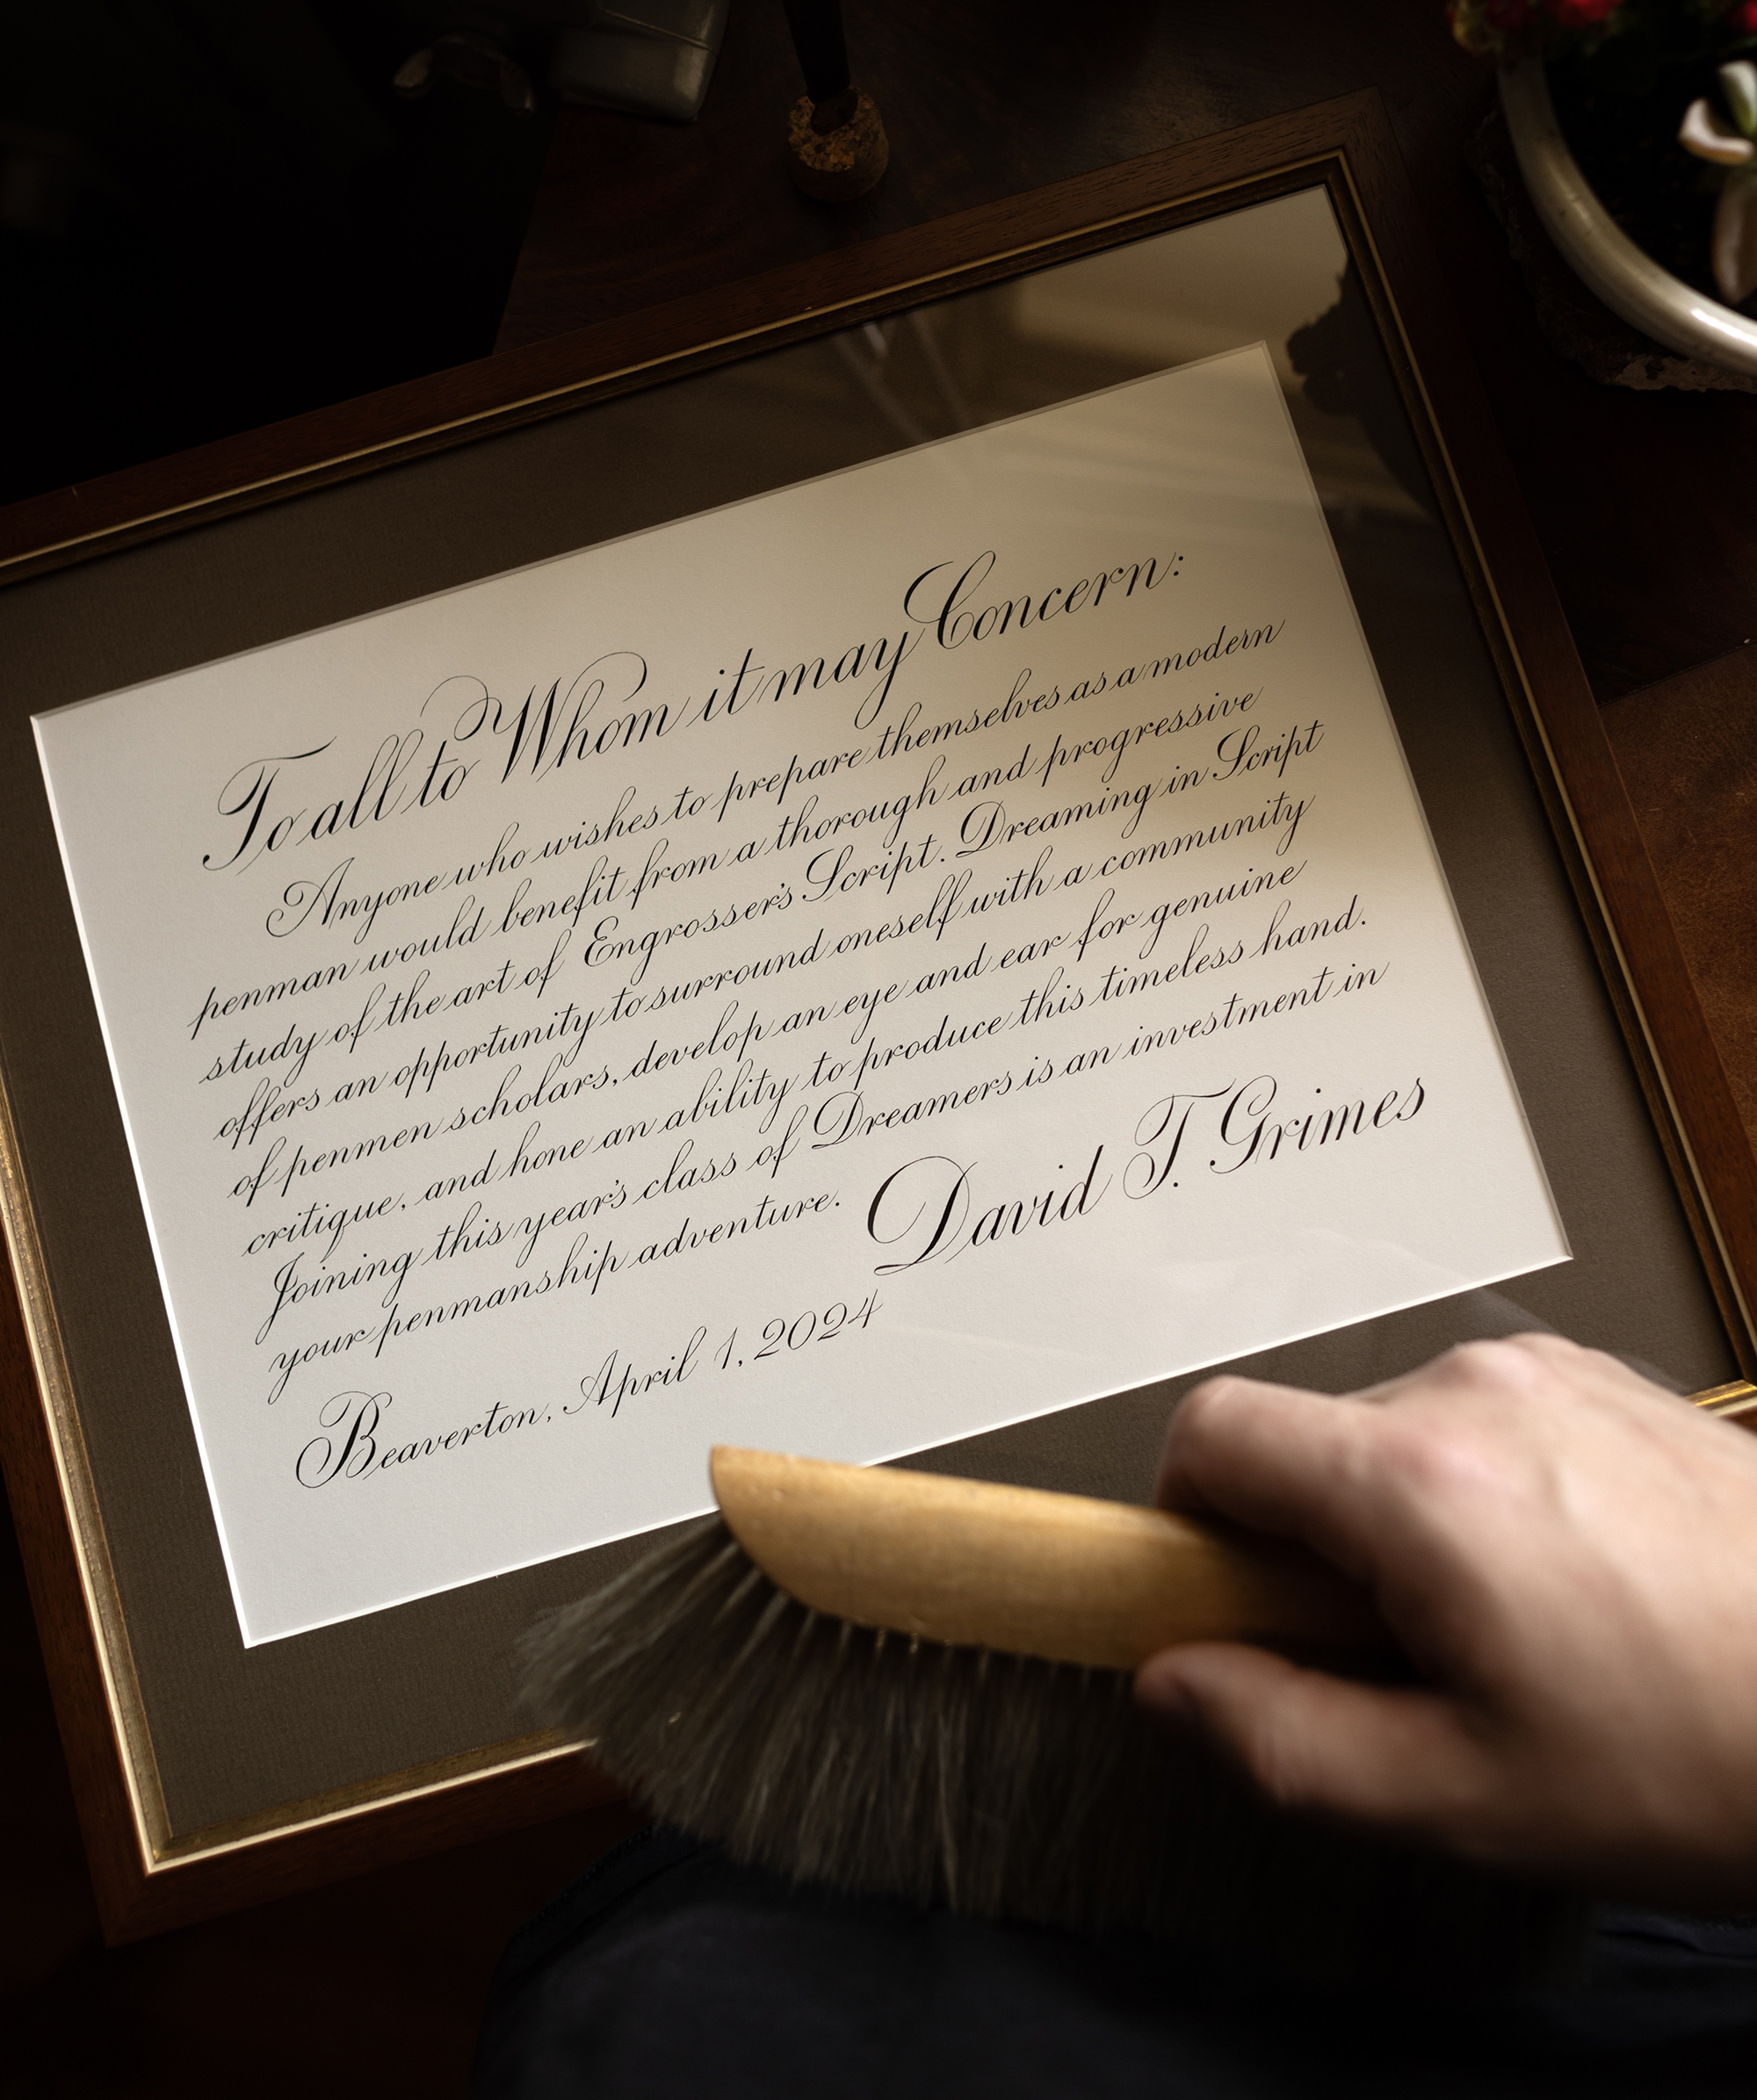
Few calligraphic hands are as timeless or beautiful as Engrosser’s Script. This historic American script combines a handful of principal strokes to create stunning letters in a way that is simple and systematic.
Learn to pen logical, consistent, and well-spaced letters and words. Combine these time-tested techniques into projects and participate in critique as both recipient and critic. Temper the hand and the eye through analyzing historic and modern sources. Discover the modular language of script and pursue it to fluency.

The Curriculum
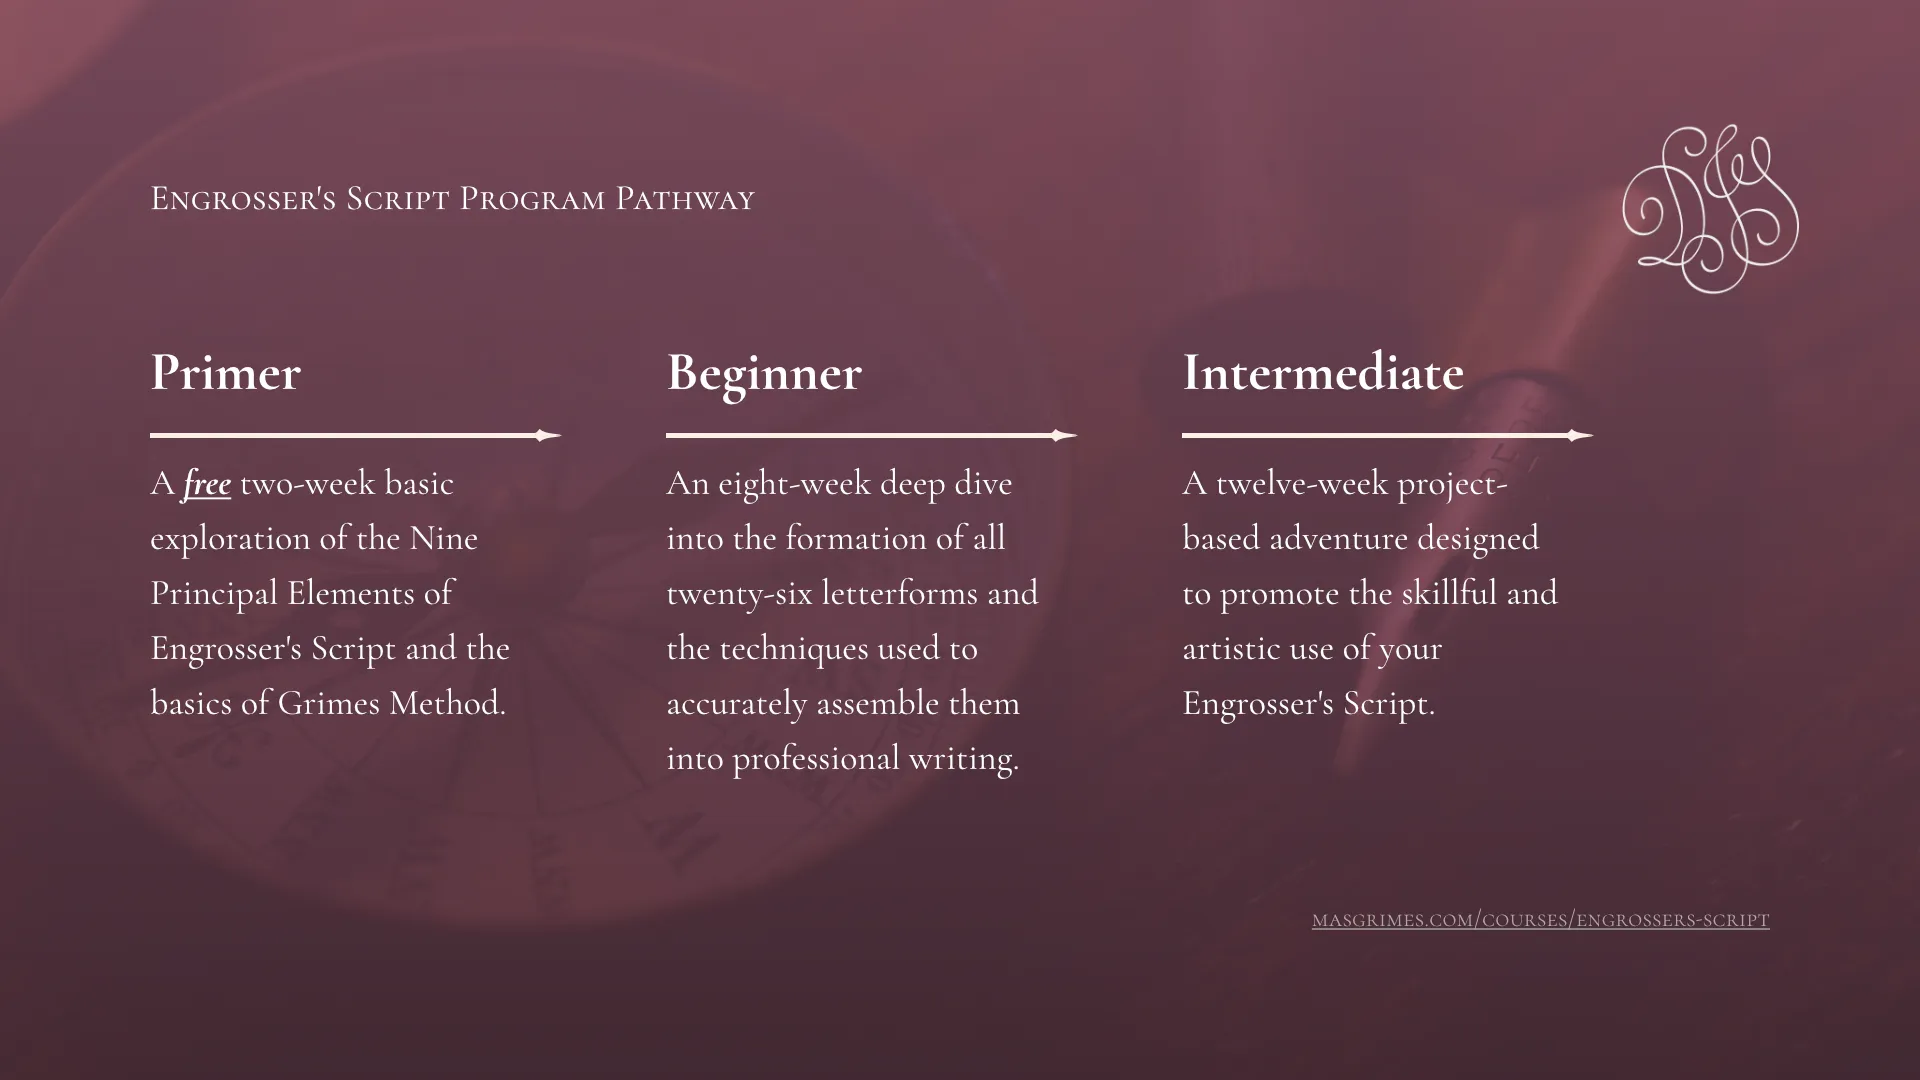
The Engrosser’s Script Program is comprised of three courses:
- Engrosser’s Script Primer (2025 Enrollment is now closed)
- Beginner Engrosser’s Script (2025 Enrollment is now closed)
- Intermediate Engrosser’s Script (2025 Enrollment is now closed)

Lessons consist of pre-recorded videos, essays, and diagrams covering all of the information you need to become a successful Engrosser’s Script penman. A high-level syllabus is outlined below.
ES Program Syllabus
The basics of Engrosser’s Script
At its core, the Grimes Method of Engrosser’s Script is formed through the systematic repetition of five Principal Shades and four Connective Hairlines. In this free primer, we will cover the rudimentary ES techniques required for exacting work of a high caliber. This course lays the groundwork for an Engrosser’s Script practice that revolves around logic and modularity.
The Engrosser’s Script Primer is now closed for enrollment. Join the Beginner Engrosser’s Script program to get access to the Primer, or join the newsletter to get updated when it opens again in the future.
The mechanics of Engrosser’s Script
Using the foundational skills learned in the Engrosser’s Script Primer, this course covers all of the letters of the alphabet using Grimes Method Engrosser’s Script. Each minuscule (lowercase) and majuscule (uppercase) letter is covered in meticulous detail, and special attention is paid to the exactness and fidelity of each stroke. Students learn to utilize The Interval Theory to design logically spaced letters, words, and sentences.
Enrollment is now closed.
The Art of Engrosser’s Script
Once you’ve learned to confidently produce an alphabet in the Grimes Method of Engrosser’s Script, you are ready to explore more complex facets of this discipline. In this course, we will explore projects aimed at teaching you how to use your Engrosser’s Script at a professional level. Students will learn how to lay out complex guidelines, center their work, make repairs when errors occur, and more.
2025 Enrollment is now closed.
Program Details
The Engrosser’s Script Program is designed to be completed alongside classmates in a cohort-style experience. Lessons release in weekly sections covering just a few topics at a time. Each section builds on the last in a progressive manner.
With registration, you gain online access to the curriculum and the DIS Community Forum where you can share your work with other Dreamers. By participating in regular rounds of peer critique, you can test your understanding of course theory and develop your eye for detail while supporting your fellow classmates.

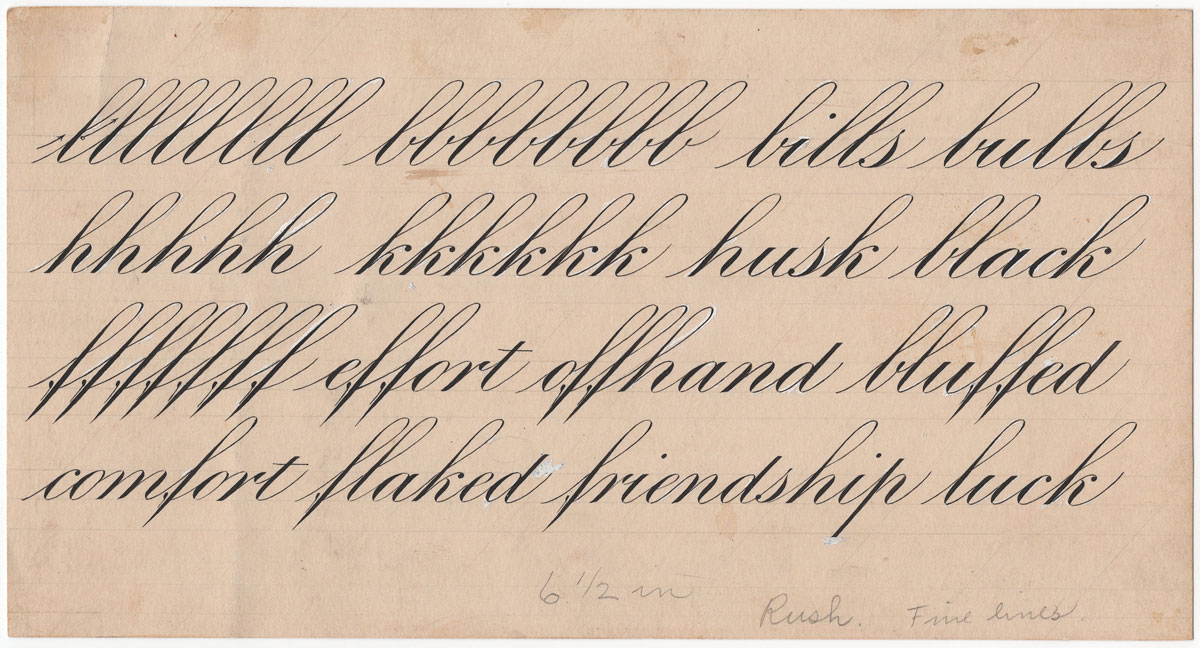
(above) An ES specimen from the pen of E. A. Lupfer. Original, high-quality scans of samples like this are used as references throughout the course materials.
Required Materials
To participate in The Engrosser’s Script Program, you’ll need:
- An oblique pen holder.
- A pointed pen of your choice (Hunt 101, LPEF, etc.)
- An ink or writing fluid of your choice. (Walnut, Sumi, Iron Gall, etc.)
- Some paper that you can write on. (such as Neenah Classic Crest Papers)
- One sheet of Arches 90lb Hot Press paper (or similar) for projects. (Intermediate Class Only)
- A ruler and pencil.
- A Masgrimes Lining Triangle
- Access to a printer.
- A computer with access to the internet.
Technology Notice
You are responsible for the technical side of accessing DIS and will occasionally need to research and solve problems with your devices. This course is accessible through smartphone or tablet, but a desktop computer is recommended for the best experience. Please understand that is a fully online course that requires you to interact with digital technology.

DIS Endorsements
With students from all walks of life, the DIS community is filled with some pretty incredible people working towards amazing calligraphic skills. I’m extremely proud to have an abundance of supportive students who have endorsed the programs.